Monday, December 28, 2009

Moreton Island - Christmas 2009 - Part 1


For our Christmas holidays this year, we drove down to Toowoomba and had Christmas with Matt's side of the family. After the festivities were done, we headed over to Moreton Island for a week with Grant & Sam & kids, and Nate and Mel. We were camping at Blue Lagoon - in one of the NPWS camp grounds just behind the beach.

The easiest access to the island is via the MI Cat, which leaves from Port of Brisbane. So Monday morning we were up early and on the road. We arrived with heaps of time to spare, and found that the terminal didn't open until an hour before departure time, so we ended up killing some time parked beside the raod near the terminal gates.


The kids didn't mind the chance to get out of the car!


The weather forecast was for a week of storms and rain. We'd been lucky on the drive down, but as we were boarding the ferry, it started to pour down.


They pack the cars in pretty tight on the vehicle deck!


The ride over was perfect - the rain let up jut as we pulled away from the dock, and the water was smooth and trouble free.


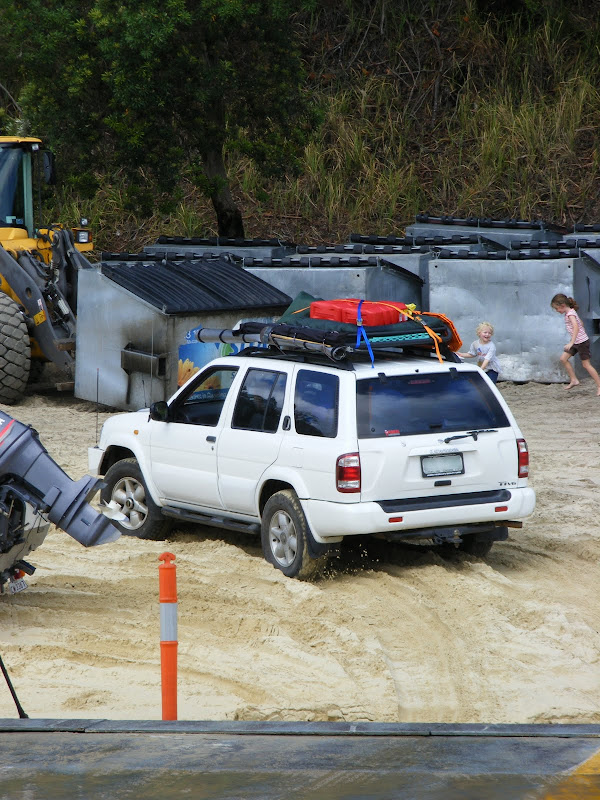
An hour and a half later, we were pulling up past the wrecks, and onto the beach.


Once off the boat, we headed north up the beach, and onto Middle Road, which cuts straight across the middle of the island, and is the quickest way between the western and eastern beaches. Moreton is predominately a sand island, with a rocky sandstone outcrop anchoring the top end of the island. As such, it's fairly typical sand-island scrub through the middle - scrubby gum bush, with striking deep cuttings in places along the track.


As you can see from those photos, the track was in pretty good condition, and the going was relatively quick. A combination of being recently graded and the large amounts of rain that the island had received over the last week obviously contributed the the good conditions. Over the course of the week the sand dried out and the track became more and more rutted and corrugated, resulting in progressively slower and slower progress.

Once on the western beach we stopped for a quick drink and to admire the view. Before long though we were travelling north again, to set up camp at the Blue Lagoon campsite.


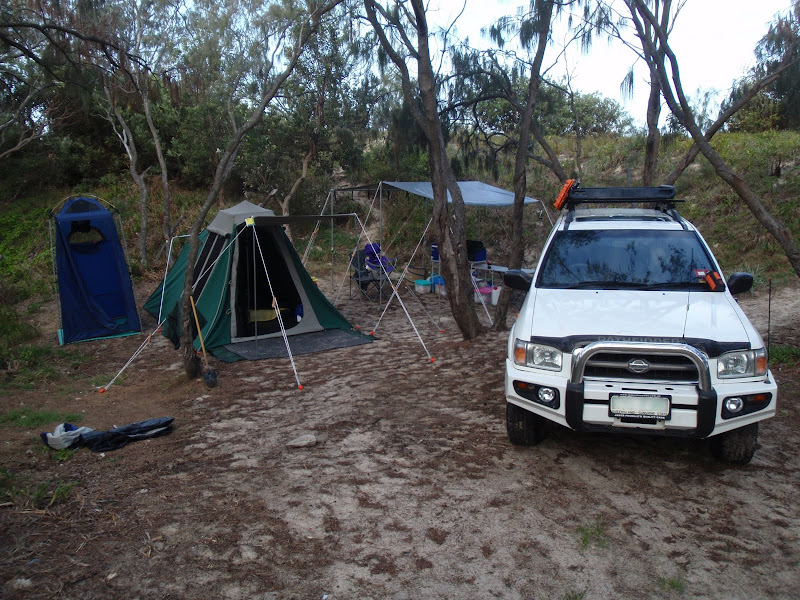
Despite having a strict booking system for the camp sites, we just managed to find 2 spots that we could use. Grant and Sam had to share a site, and we ended up about 3 sites down from them. As we soon found out though, our position was pretty much perfect - only a short walk from the toilet block, and right at the entrance to the walking track inland to the lagoon! Couldn't have picked it better if we had tried!


(Photo credit - Only half these photos are mine - the other half are Grant & Sam's. So that explains why some of the photos are considerably better than what I am usually able to manage!!!)

Sunday, December 13, 2009

Going Up in the World


...40mm at a time.

While I was in Bris last week, J dropped the Pathy into Pedders where it was booked in for it's new, lifted suspension. And I must say, it was well worth it! The car sits a lot higher now - about 40mm in the front and 60mm in the rear, but more importantly, it drives beautifully.


CV angles are still well within what I'd expect are normal limits. I'd even have expected them to be on a little bigger of an angle, but I'm guessing that's due to only getting 40mm out of the front instead of the quoted 50mm (probably due to the big steel bullbar on the nose). Either way, we have the free-wheeling hubs fitted to the front wheels so that around town we can disconnect the front drive shafts and not put any additional wear and tear on the CV's.


On the rear we decided to go for the Foam-cell shocks, which are huge. They're roughly the same diameter as a coke can - massively bigger than the old units. Some people have experienced a very rough ride with the foam cell shocks in the unloaded rear, but I've been very impresses with them. It is stiffer than it was, but it also doesn't bounce around for a minute after going over a speedbump either. All in all, I'm very happy with them - it's firm, but certainly not skittish or chattery, even in the wet. I expect we'll get much better load carrying manners as well, which is important for our trip.


All in all, I'm very happy with the new gear! It's given us some additional precious ground clearance, and the car's driving beautifully. It's not huge, and it's not the most hardcore truck you've ever seen, but we're happy with it - for where we want it to take us, it should be more than enough. And it even still fits in the carport!!! :)

Friday, December 11, 2009

MaxTrax Mounts - Finished

Decided to get stuck into the brackets today and finish them off, after taking a day off work. A week and a half ago, I gave them a lick of paint:


The paint in question is a Rustoleum pressure-pack - it's advertised as being able to stick to anything - rusted metal, aluminium, wood, plastic - you name it. Since I've had good results with rust-paint in the past in high-wear situations, I figured it was worth a shot. It's turned out really good, on both the alloy tube as well as the gal ubolts and nuts.

Once done, I mounted them onto the roofrack.


You can just make out the strips of rubber I cut to go under the ubolts and around the roof basket tube. My theory is that this will prevent the brackets from rubbing the paint/powdercoat off the basket and keep it nice for longer, as well as providing a bit of tension/squish for the mount point.


Popped out to Bunnings, and picked up some black end-caps for the ali tube. They needed to be "installed" with a rubber mallet, but they're nice and tight and snug - I don't ever think they're coming out. I was going to drill a hole in the lower ones as a drain point, but they've got some gaps in the corners, so I think they'll drain naturally that way. Not that they should take on much water to start with, since the tops are capped as well. They finish off the brackets really well though - well worth tracking them down.


This morning I cut out the large ali plate "washers" to go over the stainless rod and clamp the tracks down. These are bolted down with stainless wingnuts. It works, but it's a bit fiddly, since there's so many loose pieces. I'd prefer some sort of cam-lock setup, but are unsure of how I'd go about setting something like that up. At any rate, this will be our "travelling" setup, with the tracks clamped down tight. When we're off on a track or just out for a day-trip, I don't think we'll bother about bolting them on - we'll just throw a couple of ocky straps around them to hold them to the brackets, and that will be good enough.


Because of the design of the brackets, the tracks are held tight against the lower section of the bracket, and then against the top rail of the basket. This lets us use the top wingnuts to put a bit of tension on the tracks. My hope is that this will work like a springwasher, and means the wingnuts won't undo themselves as we drive. Again, this will only be used when we're driving long distances, just as an extra safety measure.

For security, we picked up a bike lock from BigW - one of those steel-rope-inside-a-plastic-sheath style ones - nice and light and easy to use, but cheap enough to throw away if it gets wrecked from being out in the salt water and sandy conditions. We'll just feed the wire rope through the middle handles of the tracks, and either around the basket, or around the basket AND through under the roof rails of the car - that should be pretty much bulletproof. As with anything, if someone really wants them, they'll find a way to take them, the only thing you can do is make it harder than someone elses, or make them need to make some noise. Hopefully this will be sufficient to keep them ours!

And that's it basically done! I'm really happy with how it's turned out - just as I envisaged it! Very happy indeed.